If you want to reduce the cost of installing a wire fence, you can take on the installation yourself. With proper preparation, installing a wire fence shouldn’t take up much of your time, though remember that it’s not worth rushing. If you don’t dedicate a few days for the underpinning or foundations to dry, they will crumble over time, ultimately weakening the posts. How can you independently install a wire fence to make it last for years?
Fence Installation – What You’ll Need
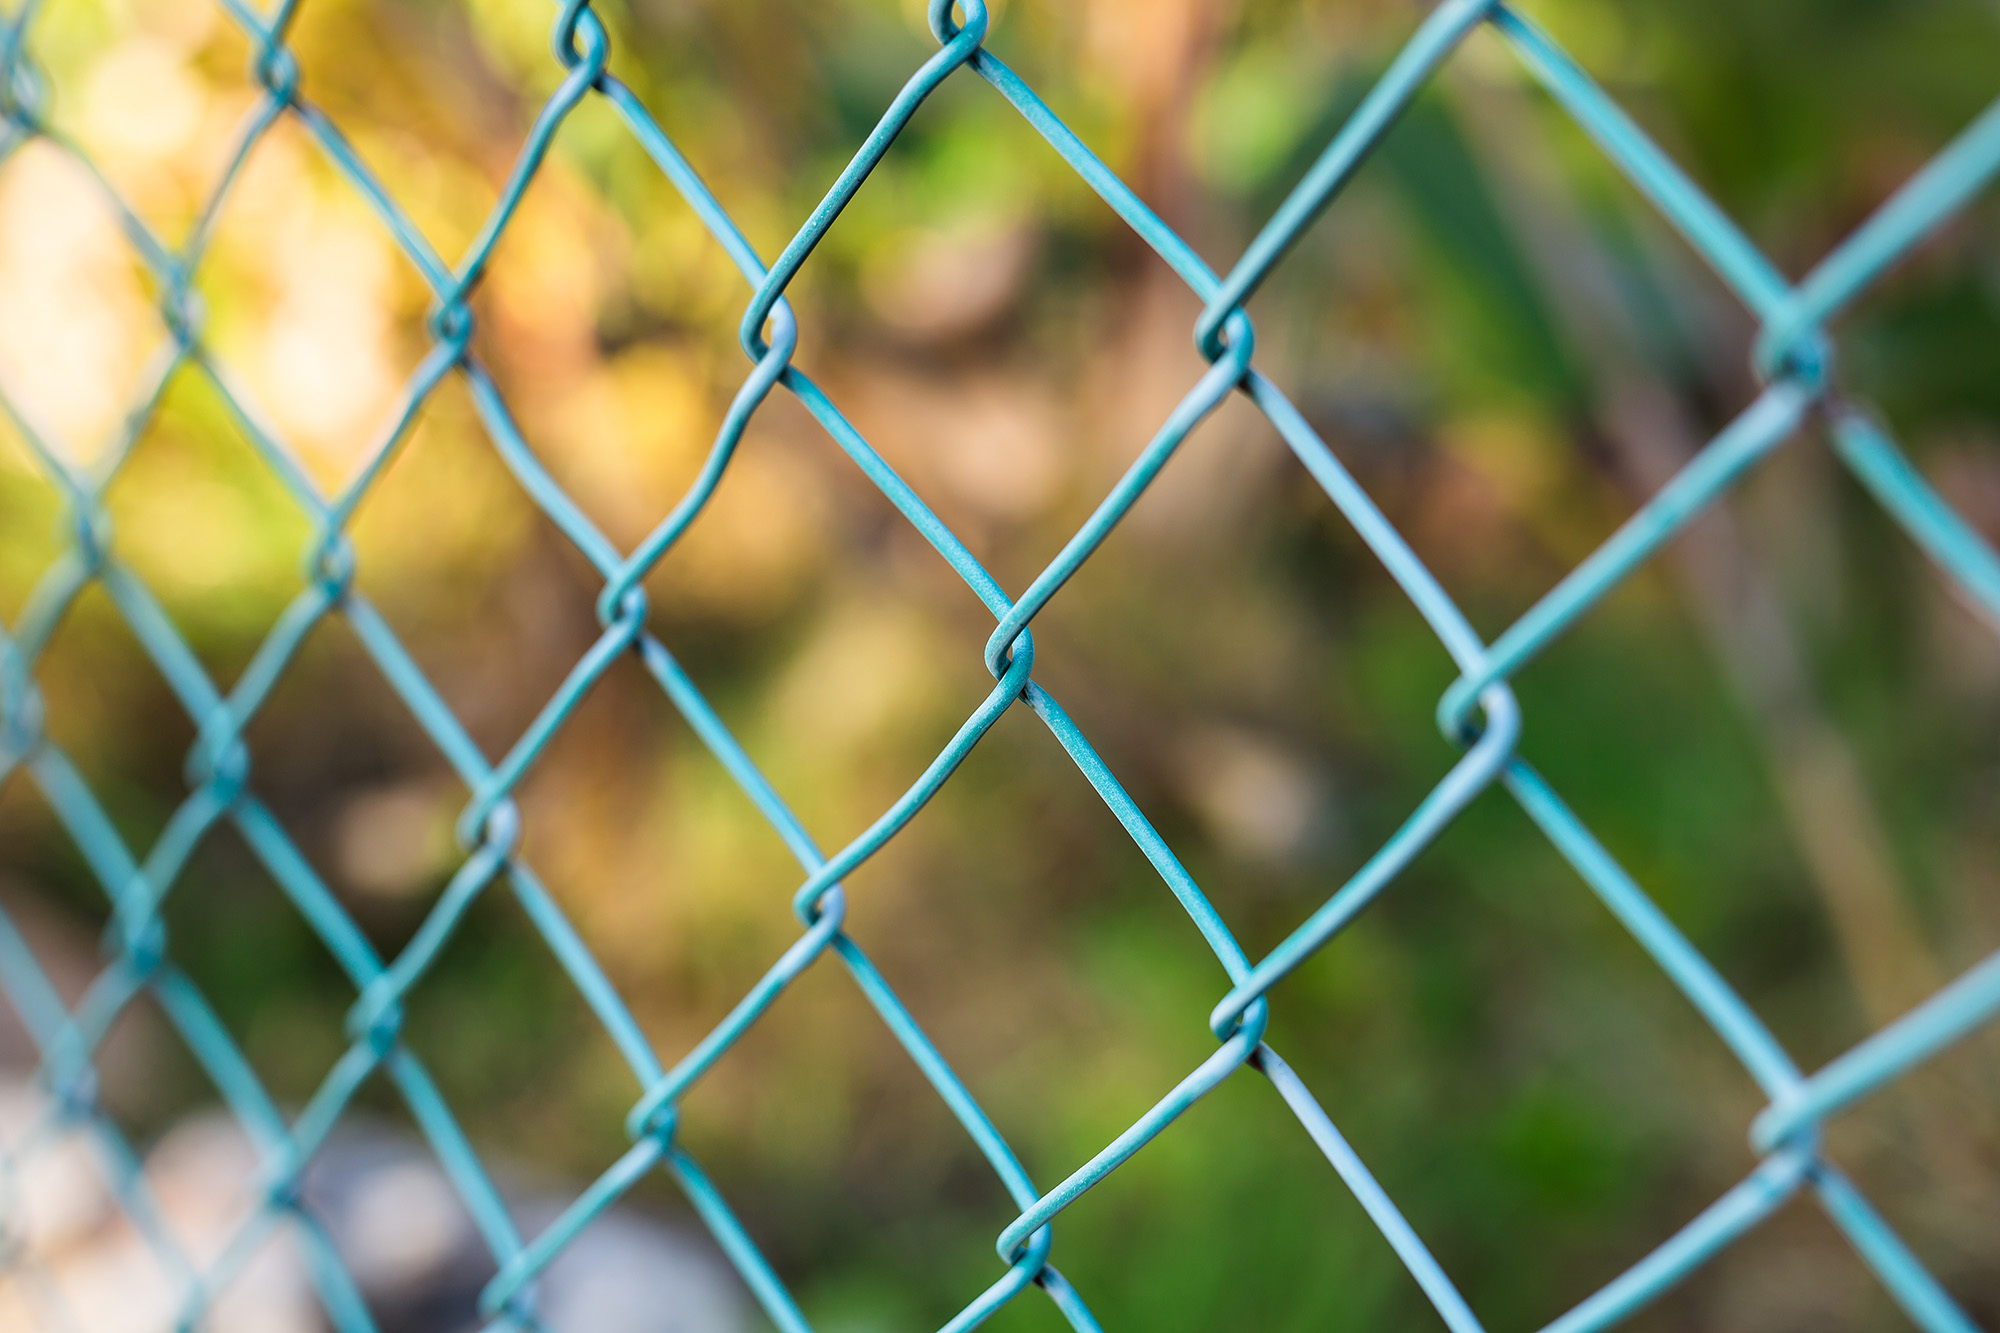
After accurately measuring the plot, it’s time to make a shopping list. The wire fence itself should be at the top. For a long-lasting fence, consider opting for one that’s galvanized and additionally coated with PVC sheathing. Necessary for installing the wire fence are posts, which stabilize the entire structure. Individual elements are placed every 2.5 meters. Depending on the shape and size of the fence, you may need starting, corner, and intermediate posts. For their installation, you’ll need concrete mortar (preferably quick-setting) and formwork. To securely and aesthetically attach the wire to the posts, tensioners, tension rods, tensioning wire, and securing wire are needed. Don’t forget to buy eyelet screws or auxiliary parts – small elements are incredibly important during assembly work, just like the key for turning tension screws.
Step-by-Step Guide for Building a Wire Fence
Creating a wire fence on your own is a great way to cut down on the project’s costs. However, keep in mind that for some tasks, a second person’s assistance is necessary (e.g., when leveling the posts or stretching the wire). Before beginning the installation of the wire fence, it’s worth creating a plan, which will greatly facilitate the subsequent work. The drawing doesn’t have to be professional, but it’s good to illustrate the most important fence components and the planned distances between them. When the design and materials are ready, it’s time to start the installation work.
Ground Preparation
Building a wire fence involves several important stages – the first of which is proper ground preparation. All areas where the wire will be located must be cleared. Even small shrubs can hinder, and sometimes even prevent, proper wire stretching. Meanwhile, old roots interfere with constructing underpinning or foundations. In addition to removing vegetation from the planned fence area, you should also clear away large stones and any remnants of the old fence.
Installing Posts
Once the plot is ready for fence installation, you can start setting the posts. If you’ve created a design beforehand, dig holes in the spots designated for the posts; if not, start by precisely planning out these elements. To ensure the entire fence is stable, the prepared holes for the posts should be about 1 meter deep and 30 centimeters wide.
If you want to place the wire on underpinning, you should also dig holes for the foundations (which don’t have to be as deep). Once all the holes are ready, you can pour concrete into them. However, if you’re not in a hurry, it’s advisable to construct formwork in advance (old pallets can be used for this purpose). Then, place and secure the posts in the designated holes. In the corners, make sure to install additional support posts, which will enhance the stability of the entire fence.
Installing Tensioning Elements
For the fence to be aesthetically pleasing and sturdy, it must be properly tensioned. For this reason, after the foundations have dried, attach bands equipped with an eyelet and screw to the posts. Then, attach tensioning wires to these bands. The best effect is achieved when these elements are placed at three heights (top, middle, and bottom). For the stability of the entire structure, it’s also a good idea to attach tensioners and vertical tension rods to the starting and corner posts. Afterwards, simply position and stretch the wire by turning the tension screws.
Stretching the Wire Fence
The final stage of fence installation, stretching the wire, should begin with the starting posts. First, thread the wire through the tensioning rod and then place the entire assembly on the previously installed eyelet screws. Then, gradually unwind the wire and sequentially attach it to each post, ensuring it remains taut. Finally, secure the wire to the tensioning rod.